Custom Fields
Here you can create new fields which show up in the “Posts” or “Pages” editing interface. This is useful for making customisations that will be implemented across a number of posts or pages such as header images, file downloads or drop caps.
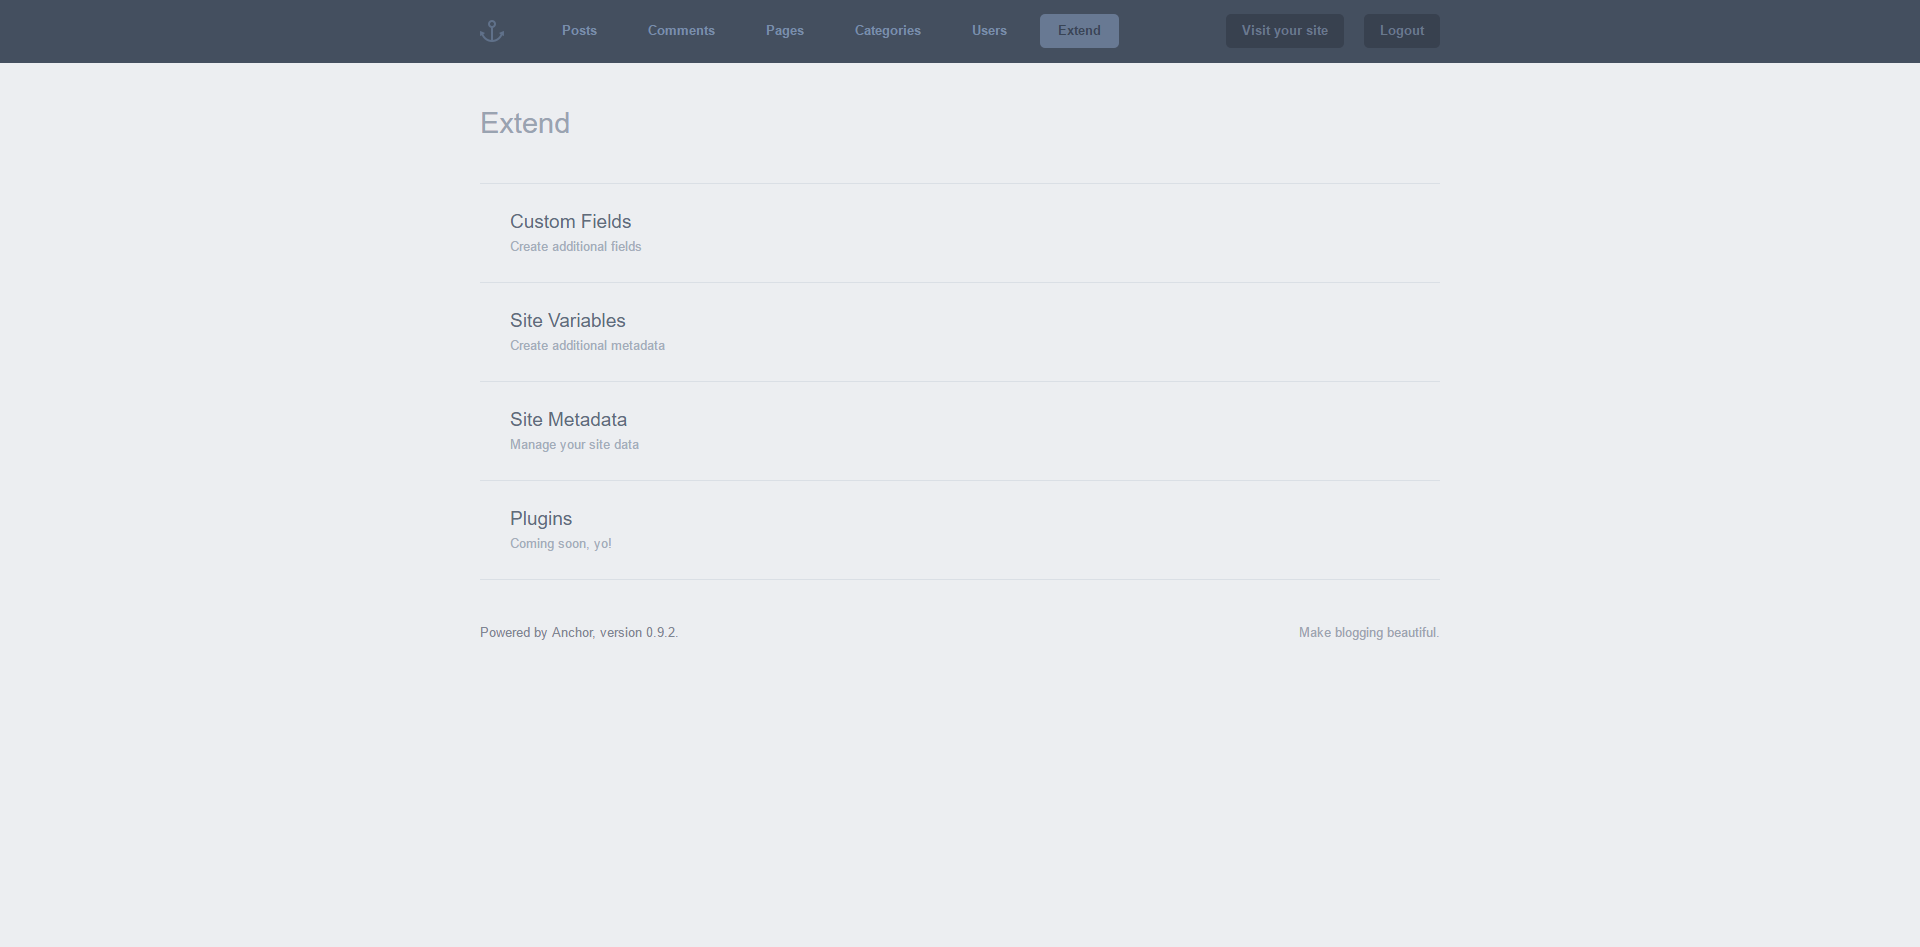
Navigate to “Extend” in the admin menu to find ‘Custom Fields’. You’ll be taken to the page below:
Creating/editing custom fields
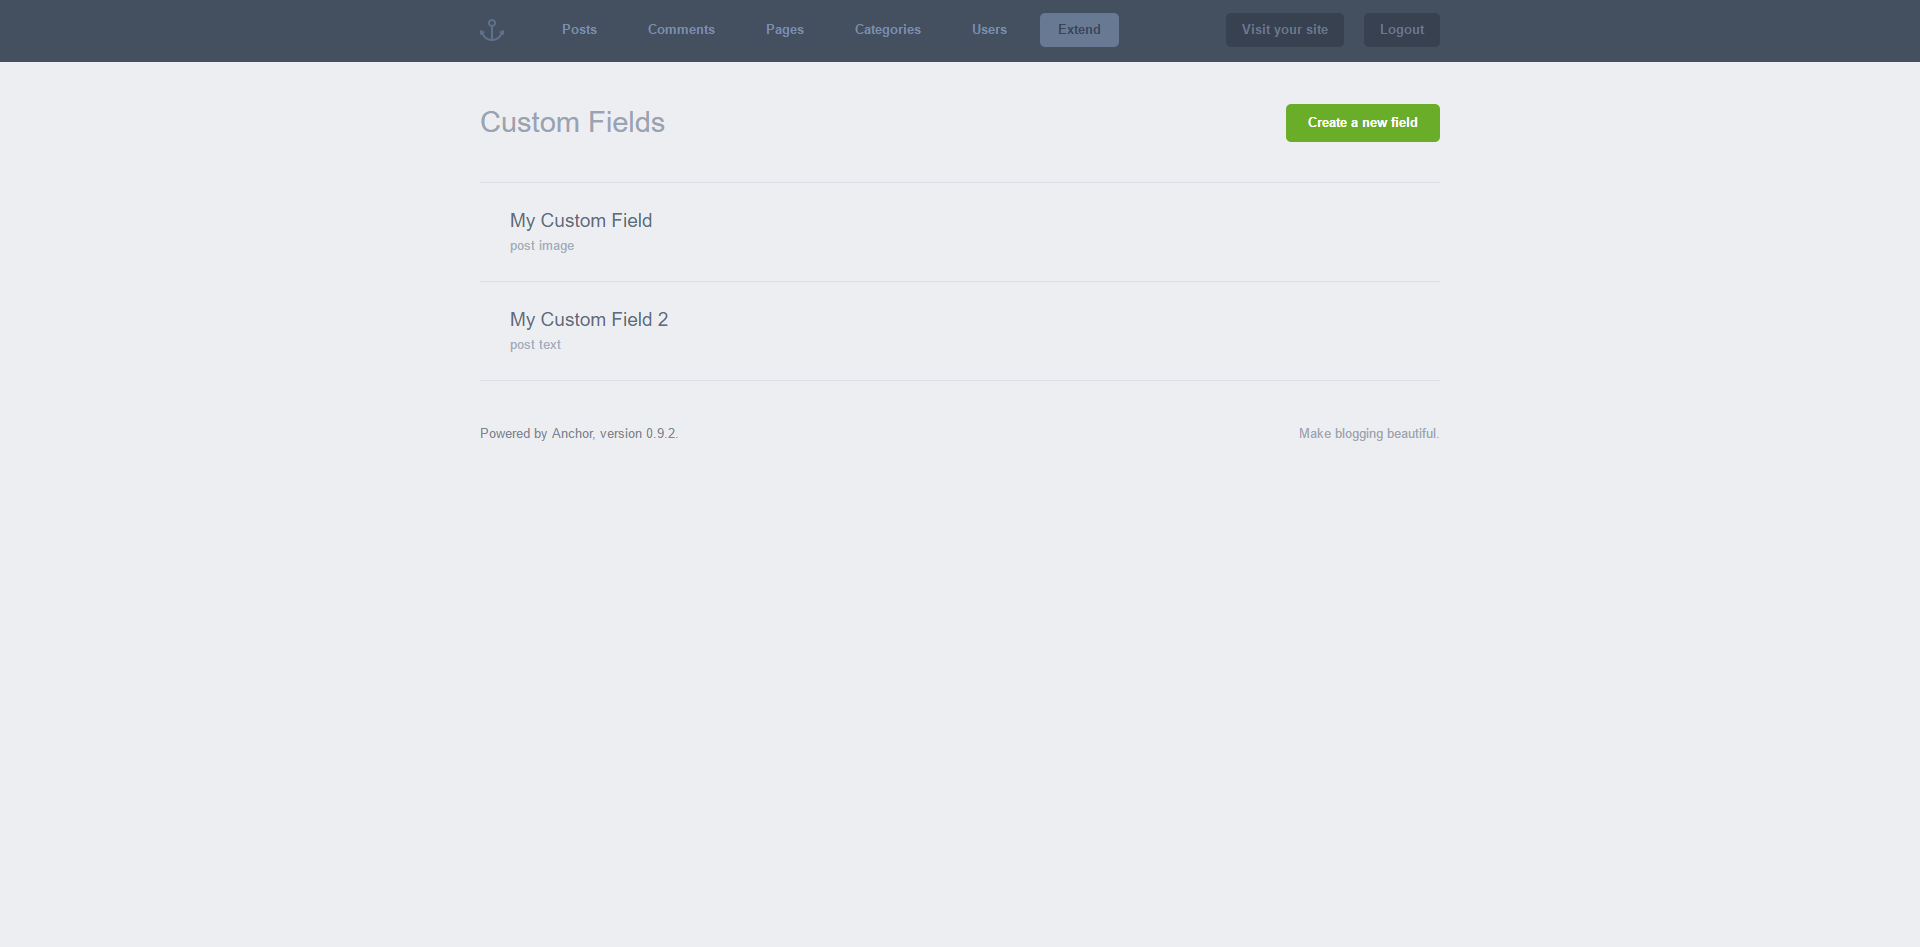
Click on “Custom Fields” to create or edit your custom field.
From the “Custom Fields” screen (displayed above) you can edit your previously created custom fields by selecting them. To create a new custom field, click the green “Create a new field button”.
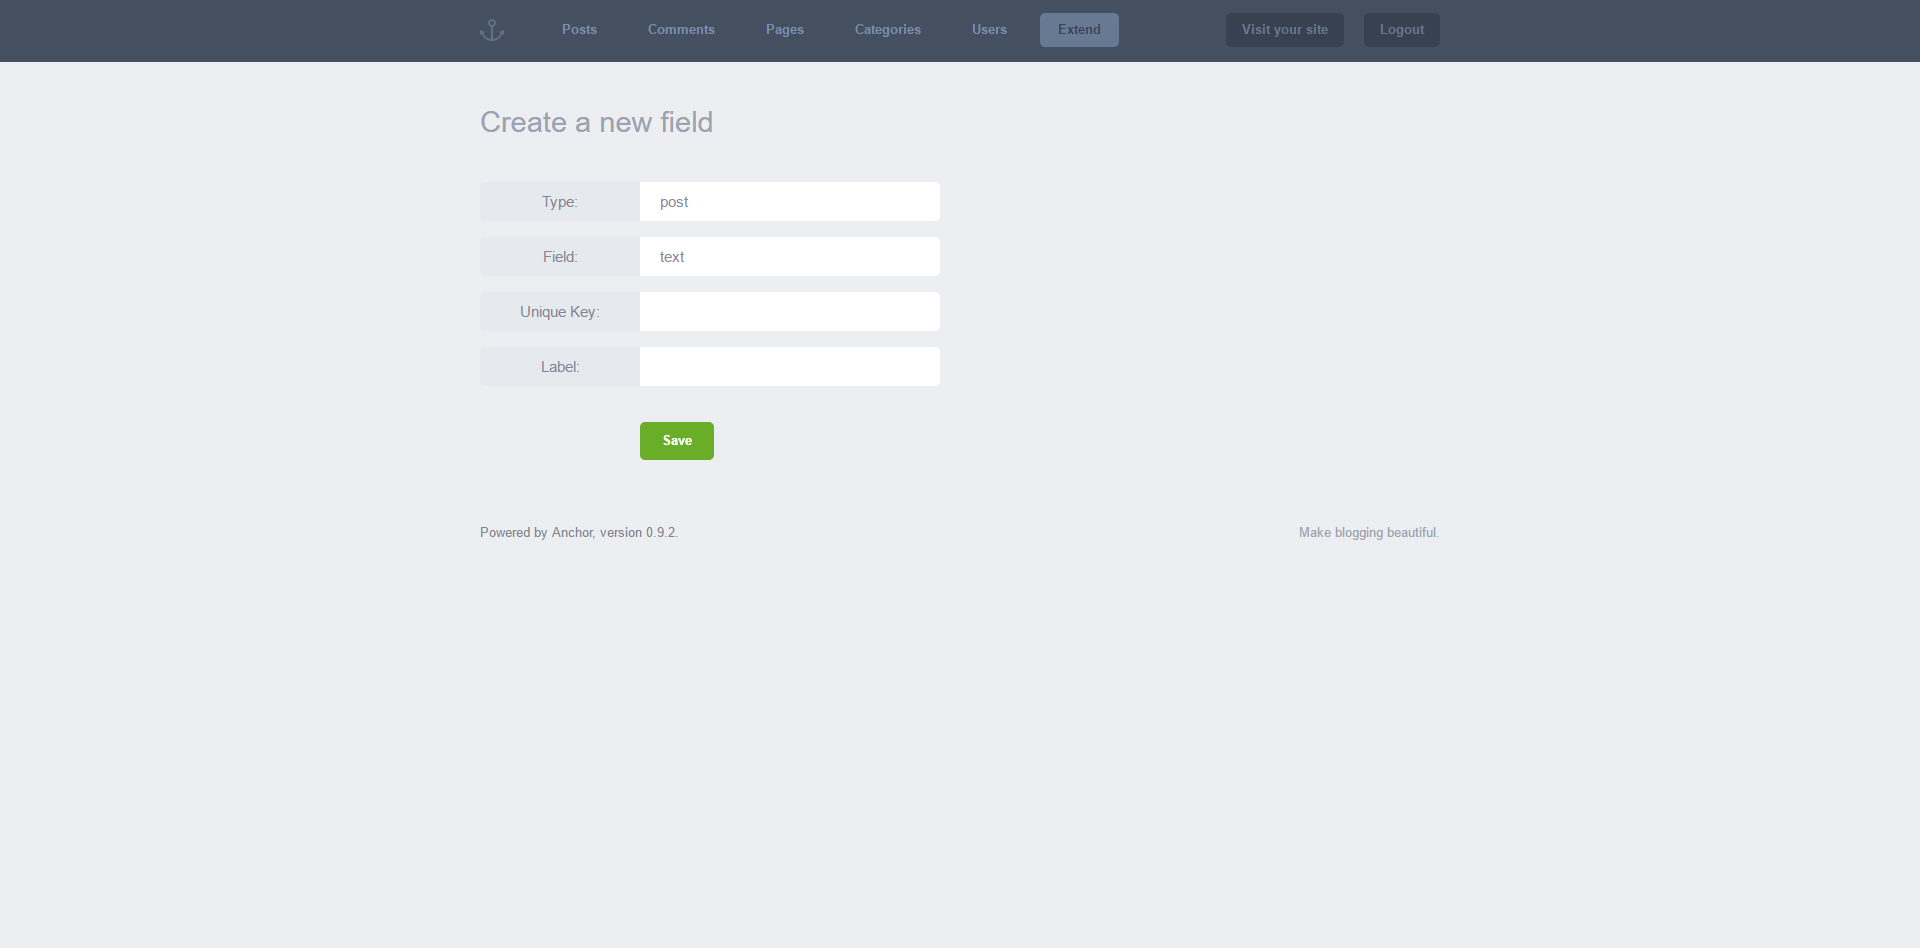
You’ll be taken to the “Custom Fields” screen displayed above. Fill out the fields on this page. Each is explained below:
Type
Choose whether your customisation will appear in your posts or on a page
Field
This determines how your new field will be tagged in HTML.
Unique Key
This string will be used to call your field in your code.
Label
Choose a name that allows you to distinguish between other fields you may add to your blog.
When you click “Save” your new custom field will be made available in the editing interface of your choice (page or post).
Calling your custom field
See below for the code you need to call your custom field, replacing ‘UniqueKey’ with the unique key you assigned:
For pages:
<?php page_custom_field('UniqueKey')?>
For posts:
<?php (article_custom_field('UniqueKey')?>


